BLOGGER TEMPLATES AND TWITTER BACKGROUNDS
Showing posts with label kids. Show all posts

Tuesday, July 5, 2011

Water Sponges


The kids and I made some water sponges to play with in the back yard.  You need 3 sponges to make 1 sponge ball.  Cut each sponge into fourth.  Then just hold them together and tie up with dental floss.  Fluff them out the way you want them and they are ready to go.  Get them wet, and throw.  Fun way to cool off in this heat.  I found the idea here.

Wednesday, June 22, 2011

4th of July Shirts

Landon's Shirt

Lindsay's shirt
The kids and I got together with some friends today to Tye Dye shirts for the 4th of July.  We used the spray kind of dye and they were so easy and so fun.  The kids got a little carried away so in some spots they look more purple than red, white, and blue.  But, they had fun and can't wait to wear them so that is all that matters.

Thursday, March 31, 2011

Joy School Play dough

1 cup flour
1 cup salt
1 Tbs oil
1 tsp cream of tarter
1 cup water
Food Coloing

Combine all ingredients and stir over heat until ingredients cling together and form a ball.  About 1 minute.

Monday, March 21, 2011

Tooth Pillow


Lindsay had Dental Appointment the other day.  He told Lindsay she had a loose tooth on the bottom and mentioned that the Tooth Fairy would be paying her a visit soon.  She has been so excited about it.  We made a little Tooth Pillow to keep the tooth in when it finally does wiggle free.  Pretty cute huh!

Tuesday, March 8, 2011

Superhero Capes

 My Little Guy lately has been obsessed with Superheros.  He has some Spider man pajamas that we can barely get him out of.  He has some Spider man flip flops that he sleeps with at night.  We often here him saying "Super Landon to the rescue."  He told me he wants to have a Superhero Birthday Party.  He turns 3 in May.  I know we still have some time but I thought I would get a jump start and make him a Super hero cape.

He had a plain white shirt in his closet that is stained in a few places.  I decided I would add some fabric and make him a superhero shirt to go with his cape.


 Superhero Shirt.  
I just took some scraps and cut them into a diamond and an L.  Then I just zig zag stitched around it.


For the cape I used about 1/2 yard of felt.  I just kind of cut it into a shape I liked.  I added a square of felt and the letter to it and again zig zag stitched around it.  Then I took some ribbon and zig zag stitched it tot the top for the ties.

Of course every Superhero has a super sidekick.  Our Super Landon has a Super Sister and we decided she needed a Superhero cape too.

Here is Super Lindsay's Cape.
And here is Super Lindsay's Shirt.

Friday, March 4, 2011

Leprechaun Hands


The kids and I made these little Leprechauns with their hand prints today.  They didn't turn out as cute as I had pictured them in my head, but they had fun and that is all that matters.

Wednesday, March 2, 2011

Dr. Seuss Birthday

We had a fun Dr. Seuss Day on Dr. Seuss's Birthday (March 2nd).  You could also do this for St. Patrick's Day, or just any day you want to share some good stories and fun with your kids.
We started out by reading a few of our favorite Dr. Seuss Books.  We had a few and also checked out a few from the library.


After our story time we colored some pictures I got off the internet.  I just googled Dr. Seuss coloring pages and found lots.


 Aren't they cute!


The finished product

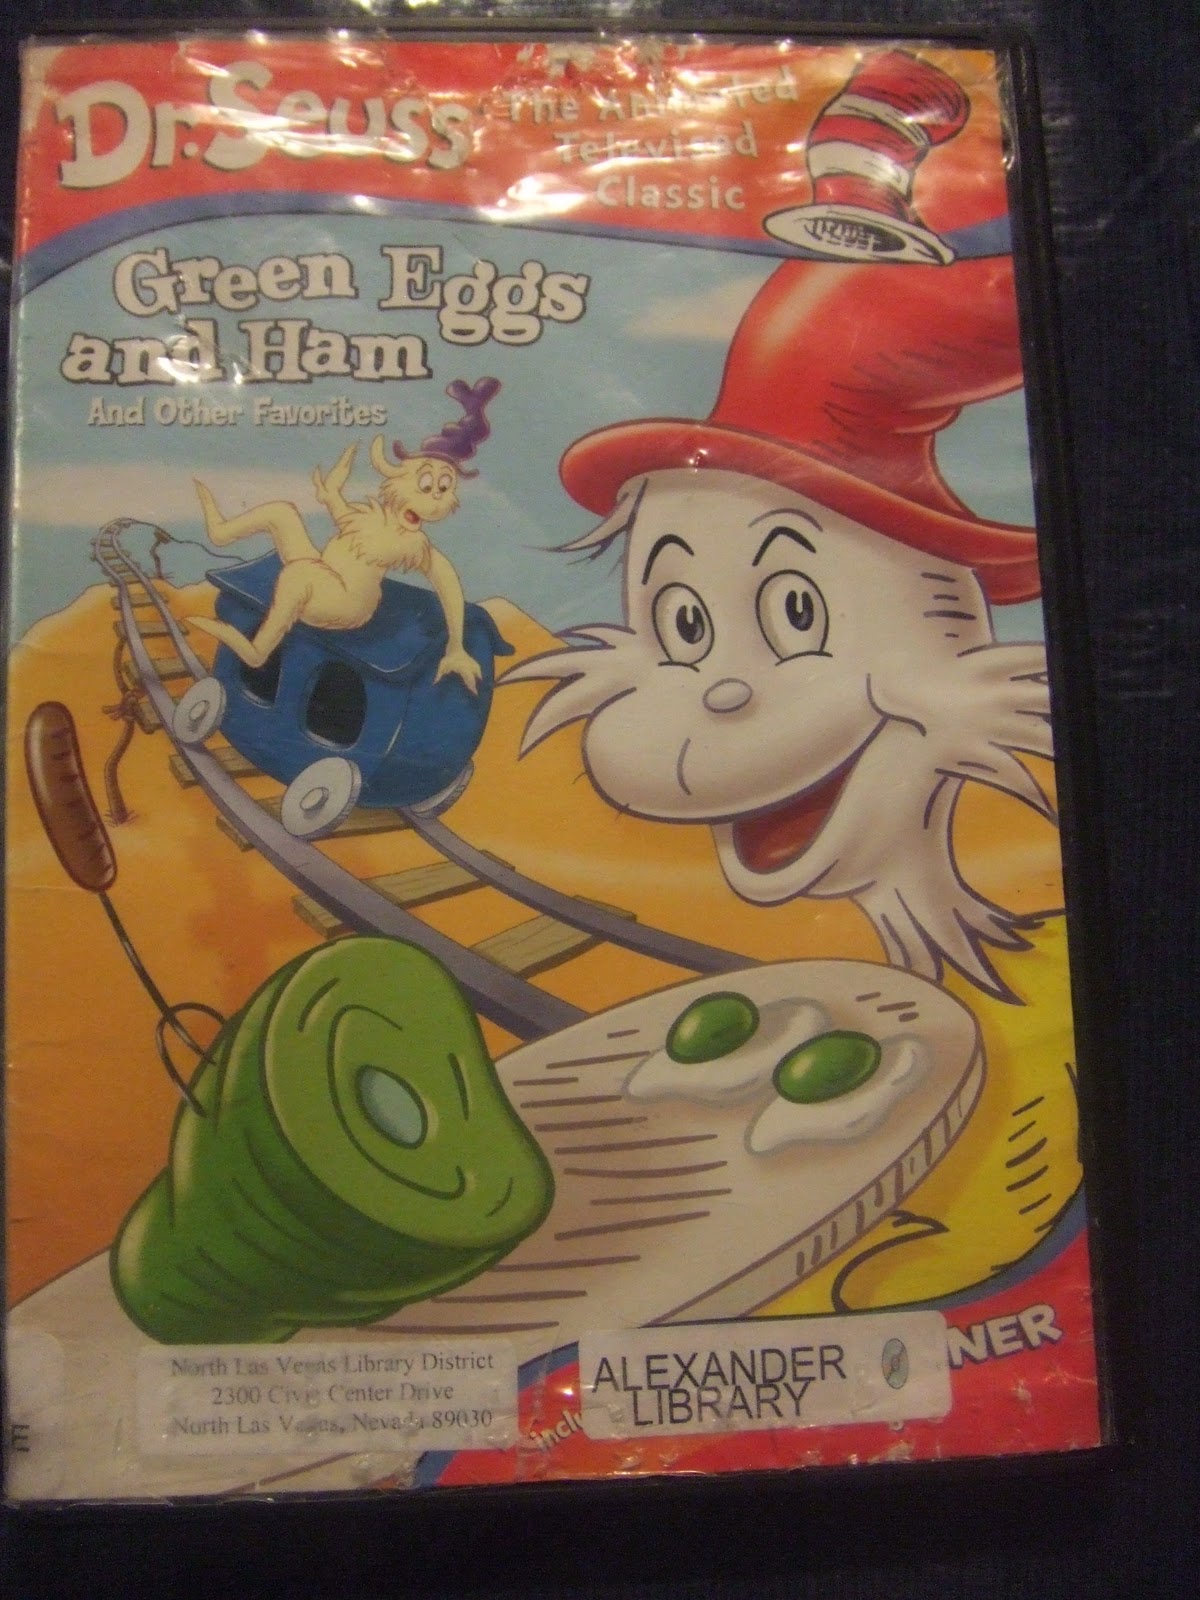
Then we watched the movie that we found at the Library.  It actually had a few stories.


We made snacks to go with our lunch.  Pretzel sticks with a little bit of melted white chocolate chips.  I just put about a 1/4 cup of white chocolate chips in a sandwich baggie.  I melted them for a few minutes in the microwave, making sure I stopped every 20-30 seconds and squished the bag a little.  Then I just snipped a little off of a corner of the bag and squeezed the chocolate onto the pretzels.  Then we topped them off with a green M&M's and put in the fridge til the hardened.
Then we enjoyed our lunch of green eggs and ham with our little snacks we made.  For the Green Eggs and Ham, I just made scrambled eggs with a little diced ham in them.  I also added a little bit of green food coloring, milk, salt and pepper.

We had a lot of fun.


Dr. Seuss Day was a success.  Here are the smile on my kids (all decked out in their greens) to prove it.

Tuesday, February 22, 2011

Angry Birds


My kids love to play the Angry Birds game on my husbands cell phone.  They think it is so funny.  So I found a cute idea here, and decided we had to make them.  Hers are much cute and much have much more detail than mine.  I burned my finger a few time glueing eyes on them and decided they were good.  I just used pom poms I had in my craft stuff and found some plastic cups in my kitchen.  My kiddies loved playing Angry Birds all afternoon.

Saturday, February 12, 2011

Feet Print Hearts


My Little Darlings and I made these little Valentines with their feet prints.


Wednesday, January 5, 2011

Winter Footprint Art


My Darlings and I made these little footprint Snowmen and Penguins today. We had fun. Made a mess, but had fun.

Thursday, December 16, 2010

Reindeer Christmas Cards

Lindsay made these cute Reindeer cards with her Joy School class. I thought they were so cute we would post a picture of them. They made them with their hand prints and then used their fingerprints to make the border.


Tuesday, December 14, 2010

Christmas Ornaments

These cute ornaments were made by my children with a little help from one of the cute ladies in our ward. She is the one that had the little Christmas Party for them the other night. We got these ornaments at church on Sunday. Lindsay and Landon were so proud to show us.
The pictures I took of them are not the greatest, but you get the idea.


Wednesday, December 1, 2010

Christmas Thumbprint Art

I saw a great idea here and thought I would try to make the little thumbprint trees with my kids. Then I got a Current Catalog in the mail and saw these cute snowmen and reindeer made out of thumbprints and thought we would try them too.
The kids had a blast and Daddy even went along with it. I made cards. You could also easily cut them out individually and glue them to a mason jar lid. Add some ribbon and make ornaments too.
My pictures aren't the greatest, but you get the idea. We just dipped our thumbs in black ink, and green paint. Then I just drew around it to make the snowmen and reindeer. For the trees I just used markers to draw ornaments and added a gold star on top.

Our little Snowmen Family


Our little Reindeer Family


Our little forest of Christmas Trees

Saturday, November 6, 2010

More Beaded Socks


Beaded Fancy Socks

Our ward had a Super Saturday today. They had lots of things to choose from, but this is what I ended up making. They are socks with crocheted edges and little beads strung on them. I thought they turned out pretty cute and I know Lindsay will love them.

Wednesday, November 3, 2010

Paper Hand and Footprint Turkeys

We babysat several extra kids yesterday and it was kind of crazy. I was trying to keep them in one spot and contain the craziness to one area, and do something fun too. We made these cute turkeys. The body of the turkey is their footprint and then the feather are 6 hands. I let the kids pick three different colors for their hands and then they decorated their feet. Landon wasn't too excited about his so I decorated his.

Lindsay's Turkey


Landon's Turkey

Thursday, October 28, 2010

Witches Hats

Lindsay had a Joy School Party today and they made these cute little Witches Hat. It is just an ice cream cone glued (with frosting) to a little piece of construction paper cut into a circle. The inside is filled with cereal, marshmallows, and m&m's.


Bloody Cups

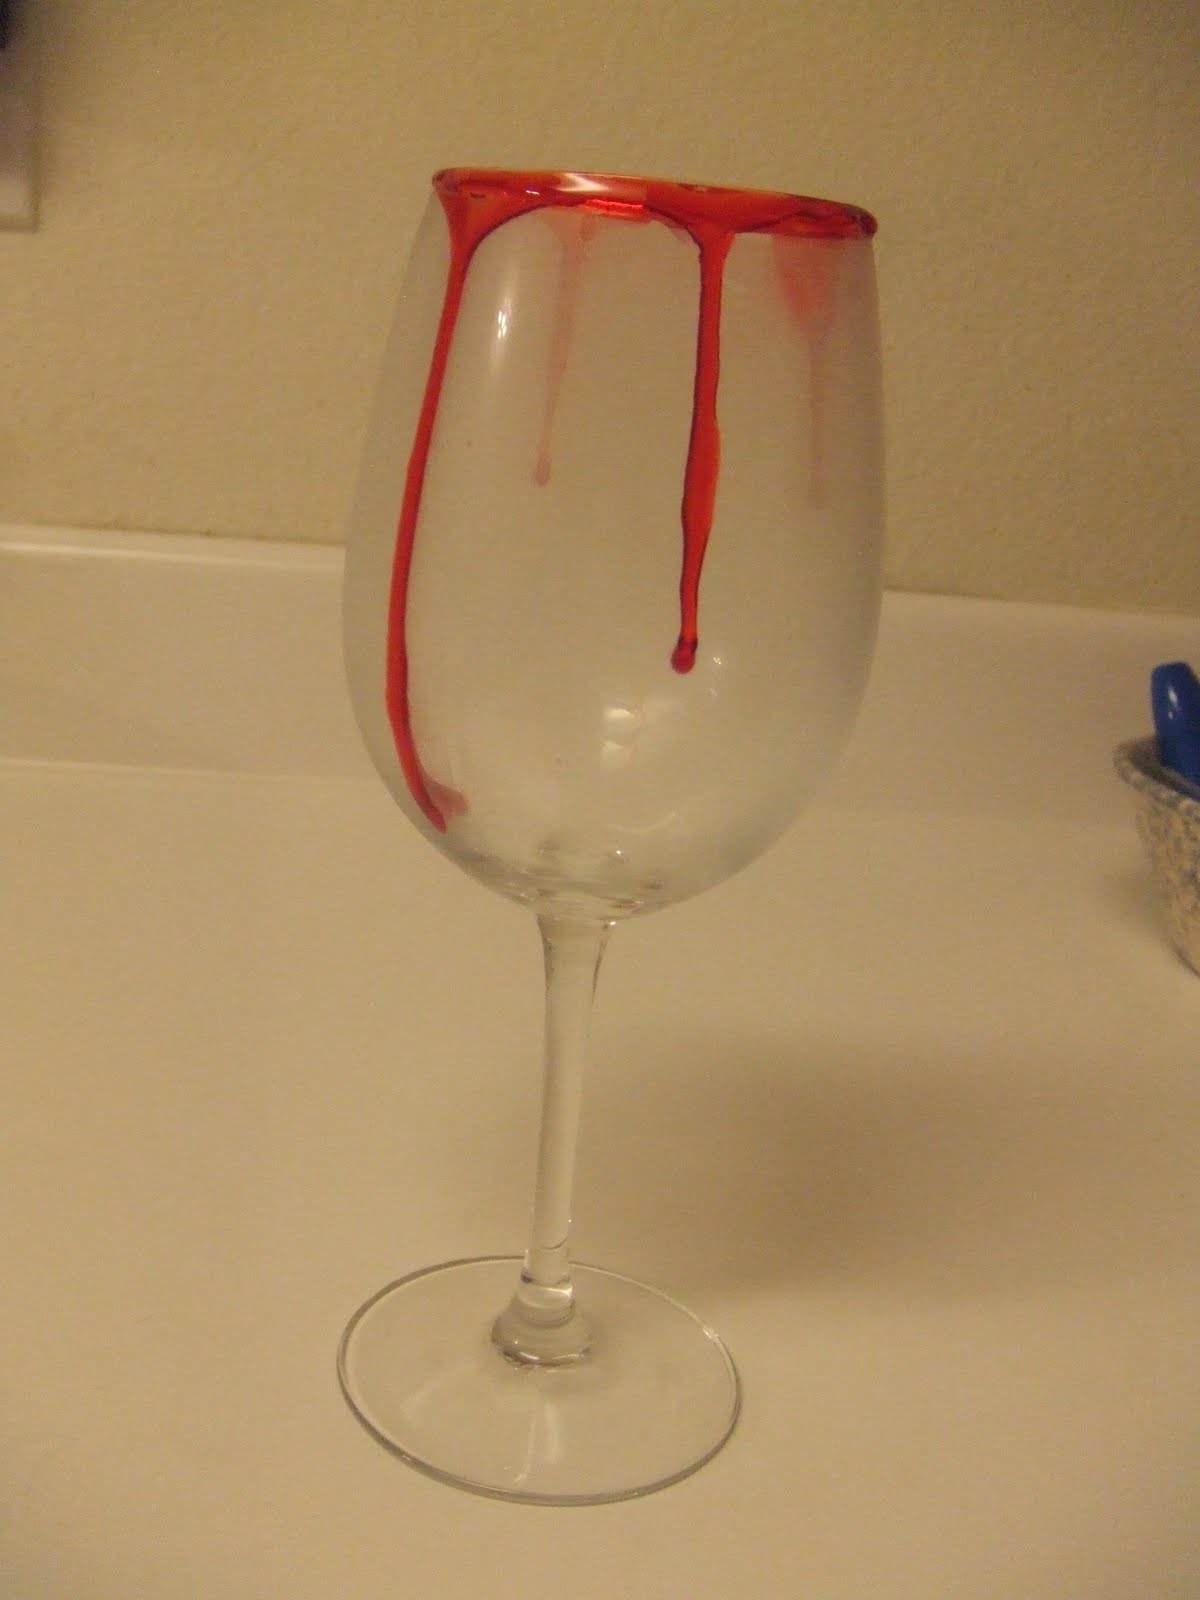
I can't remember where I saw this. It looked kind of fun and they were really easy. I mixed corn syrup on a plate with red food coloring. Then I dipped the top of the cup into the syrup. Then you sit the cup up and let it drip as long as you want it to. Then put it in the freezer to stop the dripping. Spooky!


I also made some kid friendly with plastic cups for the kids.


Friday, October 22, 2010

Bat Hands

My kids were given a little Halloween activity book last year somewhere. I ended up just throwing it in with all of the decorations last year. This year we found it and today the kids colored a few pictures and we made some cute little bats out of their hands. I also saw that you could use a foot print as the body and use googly eyes on it to make the bat face. I think they turned out pretty cute. We hung them up and the kids are pretty proud of them. Don't you love how Lindsay's bat has a belly button and painted toe nails?


Halloween Chex Mix


8 oz white chocolate baking bars, coarsely chopped (I used white chocolate chips)
4 cups corn chex or rice chex cereal (I used a mixture of both)
2 cups bite size pretzel twists
1/2 cup raisins
1 cup candy corn
1/4 cup orange and black candy decors

In large microwaveable bowl, microwave chopped baking bars uncovered on High for 1-2 minutes stirring often until melted and smooth.

Gently stir in cereal, pretzels, and raisins until evenly coated. Stir in candy and decors.

Spread on wax paper or foil until cooled and chocolate is set. Break into chunks. Store loosely covered.